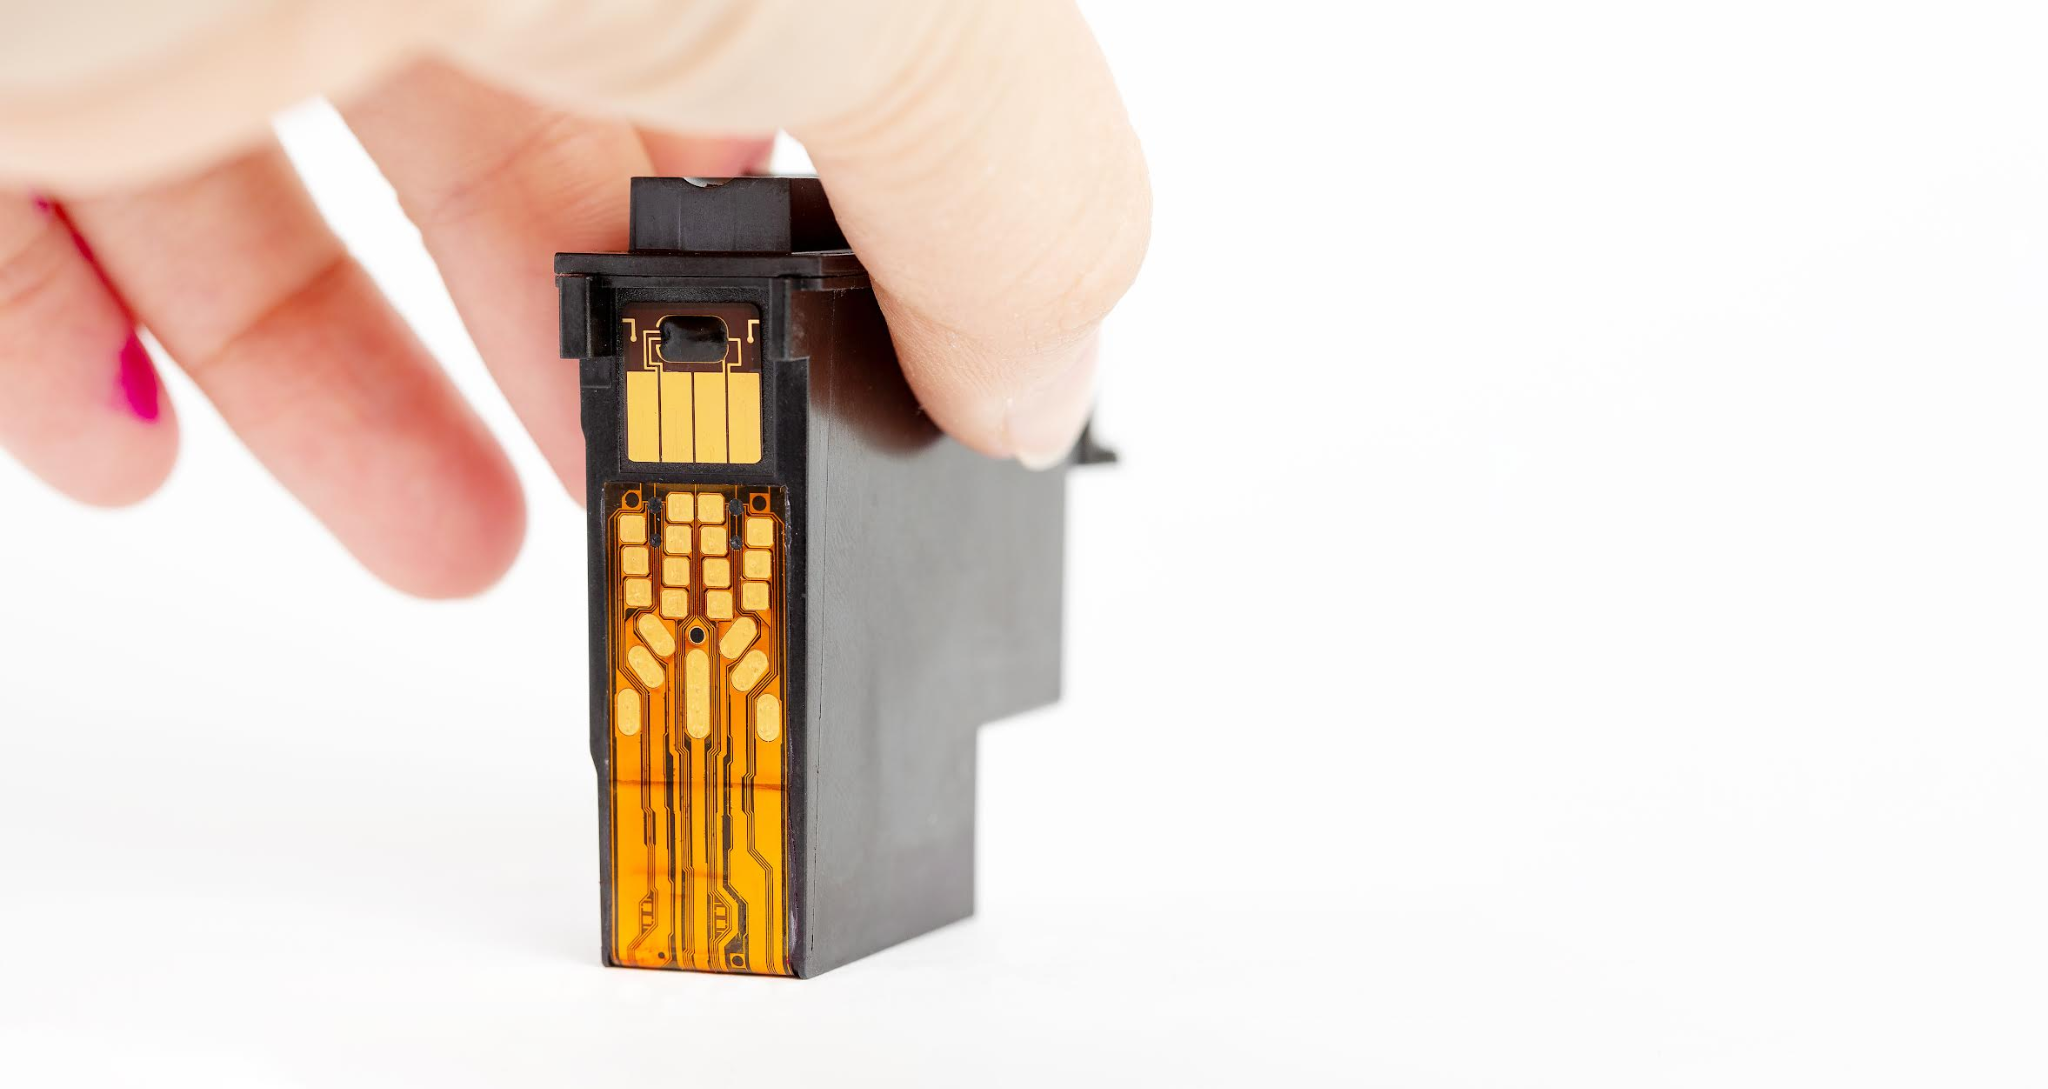
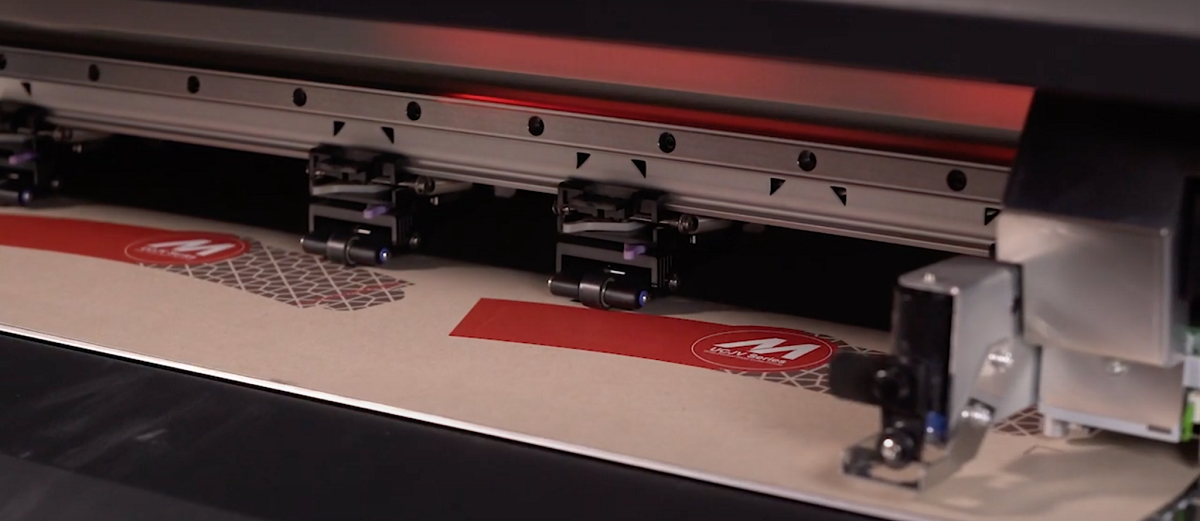
The printhead is a critical component in any printer. Whether you have a basic inkjet printer or a wide-format printer, it’s important to maintain it. Eventually, the printhead can wear down and require replacement. We’ll show you the proper steps to changing one.
When to Replace a Printhead

If your printhead is worn out or faulty, common signs include:
- Banding, streaking, and other irregularities on the print.
- A cleaning cycle or two doesn’t restore print quality.
- Replacing the ink cartridge doesn’t result in improvement.
- The printer’s LCD screen indicates a printhead problem.
How to Change a Printhead
The printhead is where ink is fed from cartridges. It contains the tiny nozzles that deliver ink to the print medium. Any errors in changing printheads can result in rendering your printer inoperable. The following steps should be done carefully:
- Discharge Static: Static electricity can seriously damage your printer. To avoid static damage, make sure the static electricity is discharged from your body before touching any electronics.
- Turn the Printer Off: Shut it down, unplug it, and wait at least 15 minutes. Residual electricity can remain in the device, so power-on the printer while it is unplugged, just for a few seconds
- Clean the New Printhead: Water may be present in the printhead during shipping. It may react with ink and clog the part; this can be resolved by blowing canned air on the channels. Also, inject cleaning fluid with a syringe, using a slight drip with very little pressure. Then use some air again.
- Remove the Old Printhead: First, check how parts are put together and take a picture you can refer to later. Then remove the printer cover, carriage cover, and ink lines. Label any ink lines that are the same color. Remove the damper without making contact with the clear membrane and disconnect the FPC cable. The head can now be carefully removed.
- Install the New Printhead: Insert the printhead into the printer, matching the way the removed head was locked in place.
- Inspect the Printer: Keep the printer panel open and have a look at the interior parts. The damper should be free of swelling. If something doesn’t look right, replace it. Also check the pump, cap, and wiper to ensure the printhead will work properly.

Visit the Mimaki Resource Center to Learn More
Our online resource center provides numerous videos, seminars, and application guides to help you get the most out of your printing system. Specifications and brochures are also available for each product we sell, which can guide you in replacing the printhead even further. To request support or learn more about our products, call Mimaki at 888-530-3988 today.

